I was standing in my kitchen last Tuesday, staring at my refrigerator like it had personally insulted me. I had just spent twenty minutes scrubbing away at a collection of greasy fingerprints and water spots, only to realize I’d actually made the surface look worse than when I started. It’s a classic trap: we think more elbow grease equals a better shine, but when it comes to learning how to clean stainless steel, the harder you scrub, the more likely you are to leave behind those annoying, permanent streaks. It’s a bit like trying to make a delicate soufflé by whisking it with a jackhammer—you’re just going to end up with a mess instead of a masterpiece.
I’ve spent way too much time tinkering with my smart appliances and DIY home upgrades to settle for a dull, cloudy kitchen, so I’ve done the heavy lifting for you. In this guide, I’m stripping away the expensive, chemical-heavy nonsense to show you the actual most efficient ways to get a mirror-like finish. We’re going to cover everything from the best household staples to the specific direction you need to wipe to avoid those dreaded smudges. Let’s get your appliances looking brand new without the headache.
Table of Contents
- Step-by-Step Instructions
- Removing Fingerprints From Stainless Steel for a Flawless Finish
- Cleaning Stainless Steel With Vinegar and Oil for Real Results
- Pro Tips to Keep Your Appliances Looking Brand New
- Quick Wins for a Spotless Kitchen
- ## The Secret to a Streak-Free Shine
- Bringing It All Home
- Frequently Asked Questions
Guide Overview
Tools & Supplies
- Microfiber cloth for scrubbing and drying
- Soft sponge for gentle cleaning
- Dish soap 1-2 drops
- Warm water 2 cups
- White vinegar 1/2 cup
Step-by-Step Instructions
- 1. First things first, you need to find the grain of the metal. Just like wood, stainless steel has a subtle direction to its finish. If you scrub against it, you’re basically inviting tiny scratches to move in and stay forever. Take a close look at your appliance and see if the “lines” run horizontally or vertically; this is going to be your north star for the rest of the process.
- 2. Grab a soft microfiber cloth and a bit of warm, soapy water. I like to use a drop of mild dish soap—nothing too heavy or scented, because we want to keep things simple. Dip the cloth in, wring it out so it’s just damp, and start wiping along those grain lines you identified earlier. This step is all about lifting the surface dust and those pesky, everyday fingerprints without being too aggressive.
- 3. If you’re dealing with something more stubborn, like dried-on food splatters near the stove, don’t go at it with a scouring pad! That’s a recipe for disaster. Instead, let a warm, wet cloth sit on the spot for a few minutes to soften things up. Think of it like letting dough rest before you start rolling it out; a little patience goes a long way in preventing a struggle.
- 4. Once the grime is lifted, it’s time to rinse. Use a fresh cloth dampened with nothing but plain water to wipe away any leftover soap residue. If you leave soap behind, it’ll dry into these weird, cloudy streaks that make your kitchen look less than stellar. It’s a small step, but it’s the secret to getting that true, clean finish.
- 5. Now, here is where the magic happens: the drying phase. Take a completely dry, clean microfiber cloth and buff the surface. You want to move in the same direction as the grain, working with a bit of gentle pressure. This is your chance to polish away any lingering water spots and ensure the surface looks as smooth as a fresh sheet of glass.
- 6. For that extra “wow” factor and a bit of extra protection, you can finish with a tiny drop of olive oil or a dedicated stainless steel spray. Put just a pea-sized amount on a cloth and buff it in following the grain. This creates a microscopic barrier that helps repel future fingerprints, making your next cleaning session much, much easier.
Removing Fingerprints From Stainless Steel for a Flawless Finish
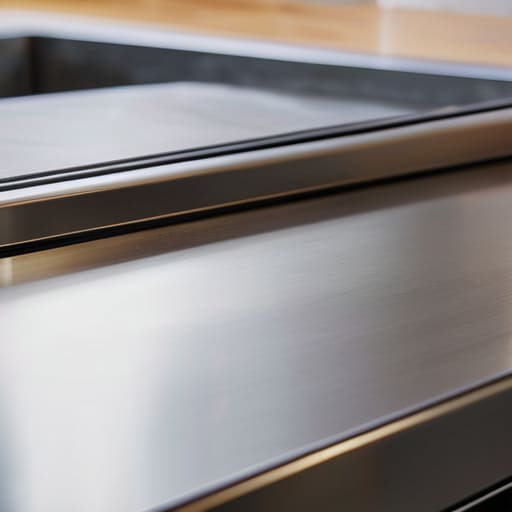
We’ve all been there: you spend twenty minutes scrubbing your appliances until they gleam, only to walk away and immediately see a fresh smudge from a stray finger. It’s like trying to bake a perfect soufflé only to have the oven door slam shut right at the finish line. If you’re tired of playing Whac-A-Mole with smudges, the secret to removing fingerprints from stainless steel isn’t just about more scrubbing; it’s about the right finish.
I’ve found that a quick buffing session with a tiny drop of olive oil on a microfiber cloth works wonders. It’s essentially the “secret sauce” for a streak-free shine. However, if you prefer a more natural approach, try cleaning stainless steel with vinegar and oil to cut through the oils left by your skin. Just remember to always wipe in the direction of the metal’s grain. If you go against the grain, you’re essentially inviting tiny micro-scratches to the party, and nobody wants that. Treat your surfaces with a little respect, and they’ll stay looking brand new for a lot longer.
Cleaning Stainless Steel With Vinegar and Oil for Real Results
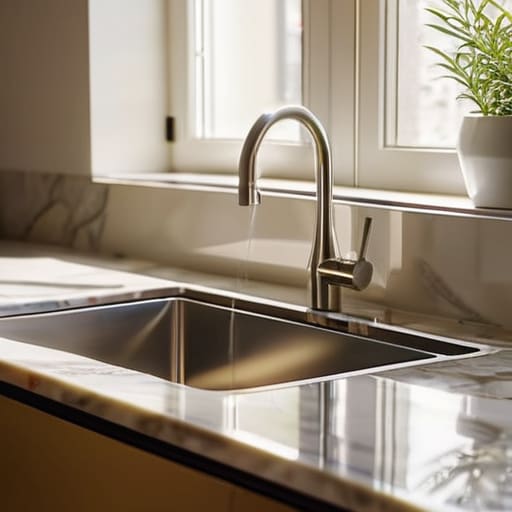
If you’re like me and prefer keeping things simple—and cheap—you don’t need to go out and hunt down the most expensive specialty sprays. In fact, I’ve found that cleaning stainless steel with vinegar and oil is basically the “secret sauce” of home maintenance. Think of it like making a vinaigrette; you need the acidity to break things down and the fat to smooth it all out. Start by spraying a mixture of white vinegar onto a microfiber cloth to cut through grease and grime. It’s a fantastic way to tackle a dirty cleaning stainless steel sink without using harsh chemicals that leave your kitchen smelling like a lab.
Once you’ve wiped away the gunk, here is where the magic happens. Take a tiny drop of olive oil or mineral oil on a fresh cloth and buff it into the surface, always following the grain. This step is crucial for how to polish stainless steel appliances so they look brand new rather than just “clean.” It creates a microscopic protective barrier that helps with removing fingerprints from stainless steel later on. It’s a low-effort hack that yields high-end results!
Pro Tips to Keep Your Appliances Looking Brand New
- Always follow the grain. Think of your stainless steel like a piece of fine wood; it has a direction. If you scrub against it, you’re just pushing the grime deeper into the microscopic grooves, which is a recipe for a streaky mess.
- Ditch the abrasive sponges. I know it’s tempting to grab that heavy-duty scouring pad when you see a burnt-on mess, but it’s like trying to fix a delicate soufflé with a sledgehammer. You’ll end up with permanent scratches that no amount of cleaning can fix.
- Microfiber is your best friend. If you aren’t using microfiber cloths, you’re working way harder than you need to. They grab the dust and oils instead of just moving them around, much like how a good roux binds everything together in a sauce.
- Watch out for bleach. It might sound like a good idea for deep cleaning, but bleach is the enemy of stainless steel. It can actually cause pitting and discoloration, essentially “cooking” the finish of your appliance until it’angers.
- Buff it out for that showroom shine. Once you’ve finished cleaning, take a fresh, dry cloth and give everything a quick buffing motion. It’s the final “seasoning” step that removes any lingering moisture and leaves that professional glow.
Quick Wins for a Spotless Kitchen
Always remember to wipe in the direction of the grain; it’s like seasoning a cast-iron skillet—if you go against the grain, you’re just inviting streaks to the party.
Keep your toolkit simple by leaning on pantry staples like vinegar and oil rather than hunting for pricey, specialized chemicals that promise the world but often underdeliver.
Consistency is your best friend; a quick five-minute wipe-down once a week is much easier than a deep-cleaning marathon when the grime starts to settle in.
## The Secret to a Streak-Free Shine
“Think of cleaning stainless steel like making a perfect sourdough; it’s not about using the most expensive ingredients, but about having the right technique and a little bit of patience to get that flawless finish.”
Morgan Bennett
Bringing It All Home
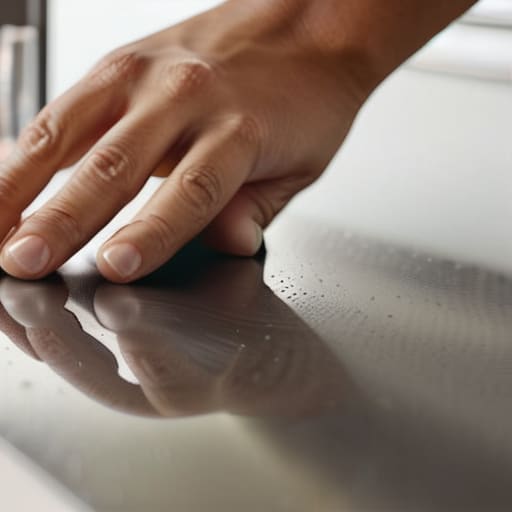
At the end of the day, keeping your appliances looking sharp doesn’t require a chemistry degree or a cabinet full of expensive, specialized cleaners. Whether you’re tackling those pesky fingerprints with a quick wipe or leaning into the classic vinegar and oil method to get that deep, mirror-like shine, the goal is simply to find what works for your specific routine. Just remember to always follow the grain of the metal—it’s the secret ingredient that prevents those annoying streaks from ruining your hard work. Think of it like seasoning a cast-iron skillet; once you find your rhythm, it becomes second nature.
I know that sometimes, when life feels chaotic, a smudge on the fridge feels like just one more thing on an endless to-do list. But honestly? There is something surprisingly therapeutic about taking ten minutes to polish away the grime and see your reflection again. It’s a small, tangible win in a world that often feels a bit messy. So, grab your microfiber cloth, pick your favorite method, and go reclaim your kitchen. You’ve got this, and I promise that a little bit of intentional care goes a long way in making your home feel like a sanctuary again.
Frequently Asked Questions
Is it safe to use abrasive sponges or steel wool if I have really tough, baked-on stains?
I get the temptation—when those burnt-on stains look like they’ve been part of the appliance since the factory, you just want to go in heavy. But please, put the steel wool down! Think of your stainless steel like a delicate sourdough starter; if you’re too aggressive, you’ll ruin the whole batch. Abrasives will scratch the finish permanently, leaving streaks that are impossible to buff out. Stick to a non-scratch sponge and some patience instead.
Can I use my regular glass cleaner on my stainless steel appliances without damaging the finish?
I get asked this all the time, and honestly, I used to do it too! But here’s the deal: I’d recommend skipping the standard blue glass cleaner. Most of them contain ammonia or harsh chemicals that can actually strip away the protective coating on your appliances over time, leaving them looking dull or even streaky. Think of it like using harsh bleach on a delicate sourdough starter—you’re just going to mess up the chemistry. Stick to something gentler!
How do I know which way the "grain" goes so I don't end up scratching my fridge?
This is such a great question, and honestly, it’s the one thing that trips most people up! Think of the grain like the fibers in a piece of wood or the way you’d shred cheese for a taco—it has a direction. To find it, look closely at your appliance under a bright light. You’ll see tiny, faint lines running either horizontally or vertically. Always wipe with those lines, never across them, to avoid those tiny scratches!