I was standing in my kitchen last Saturday, coffee in hand, staring at my backsplash like it had personally insulted me. I’d spent twenty minutes scrubbing at these dark, stubborn lines between the tiles, thinking I just needed a more expensive, “industrial-strength” chemical cocktail to fix the problem. But here’s the truth: most of the time, you don’t need a chemistry degree or a massive budget to figure out how to clean grout effectively. In fact, treating your grout like a delicate soufflé—giving it the right ingredients and a little patience—works a lot better than attacking it with harsh, caustic cleaners that actually end up damaging the seal.
I’ve spent way too many hours tinkering with DIY solutions, and I’ve learned that the best results come from simplicity, not complexity. In this guide, I’m going to skip the fluff and give you the straightforward, no-nonsense methods I use in my own home to tackle everything from light dust to deep-seated grime. We’ll walk through the best tools for the job and a few clever hacks that will save your sanity (and your weekend). Let’s get those lines looking bright and fresh again without the headache.
Table of Contents
- Step-by-Step Instructions
- Natural Grout Cleaning Solutions for Everyday Living
- Deep Cleaning Tile Grout Lines Without the Stress
- Pro-Tips to Keep Your Grout Looking Fresh Between Deep Cleans
- The Quick Cheat Sheet for Fresh Grout
- ## A Little Perspective on the Grime
- Bringing It All Home
- Frequently Asked Questions
Guide Overview
Tools & Supplies
- Stiff-bristled brush or grout brush for scrubbing
- Microfiber cloth or sponge for wiping
- Baking soda (1 cup)
- White vinegar (1/2 cup)
- Warm water (2 cups)
Step-by-Step Instructions
- 1. Before you dive into the heavy lifting, you’ve got to clear the stage. I’m talking about moving the rugs, the bath mats, and anything else that’s cluttering up your floor space. You want a completely clear workspace so you aren’t accidentally scrubbing a pile of laundry instead of your tile.
- 2. Next, let’s get the loose stuff out of the way with a quick vacuum. Grab that hose attachment and run it along the lines between your tiles to suck up any loose hair, dust, or crumbs. Think of this like prepping your ingredients before you start cooking; you don’t want random debris getting mixed into your cleaning solution and turning it into a muddy mess.
- 3. Now, it’s time to whip up your cleaning “sauce.” For most standard grime, you don’t need those scary, industrial-strength chemicals that smell like a science lab. Mix a bit of baking soda with water to create a thick, spreadable paste. If you’re dealing with particularly stubborn bathroom buildup, a splash of white vinegar can add that extra acidic punch needed to dissolve soap scum.
- 4. Grab a stiff-bristled brush—an old toothbrush works wonders for those tight corners—and start applying that paste directly into the grout lines. Don’t be shy; you want to really coat the lines so the mixture can soak in and do its magic. Let it sit for about 10 to 15 minutes; this is the “marinating” phase where the chemistry does the heavy lifting for you.
- 5. Once the timer goes off, it’s time to get to work. Scrub the lines in a circular motion, applying just enough pressure to lift the discoloration without scuffing your tile finish. If you hit a particularly nasty spot, don’t panic—just add a little more paste and give it another round of elbow grease.
- 6. Now comes the satisfying part: rinsing it all away. Use a damp microfiber cloth or a sponge to wipe up the dirty slurry. I usually recommend using warm water for the rinse, as it helps lift any remaining residue more effectively. Just make sure you keep wiping until the water coming off the floor looks crystal clear.
- 7. To wrap things up, take a dry towel and buff the area dry. Leaving moisture sitting on the grout can actually invite more dirt back in later, so you want to ensure everything is bone dry before you move your furniture or rugs back into place. Now, take a step back and enjoy that fresh-looking floor!
Natural Grout Cleaning Solutions for Everyday Living
Now, I know what some of you are thinking: “Morgan, I don’t want to douse my entire bathroom in harsh chemicals that smell like a science lab accident.” I totally get it. Honestly, my wife and I are pretty picky about what we use around the house, especially if we have guests coming over. That’s where natural grout cleaning solutions become your absolute best friend. Think of it like making a simple vinaigrette; you don’t need a chemistry degree to whip up something effective using pantry staples.
One of my go-to moves for a quick refresh is cleaning grout with baking soda and vinegar. It’s basically the “comfort food” of cleaning—simple, reliable, and it works. You just make a paste with the soda, let it sit, and then hit it with a splash of vinegar to watch the fizzing magic happen. If you’re dealing with something a bit more stubborn, like removing mold from tile grout in that corner of the shower that never seems to dry, this combo can tackle the grime without leaving behind a toxic residue. It’s all about working smarter, not harder.
Deep Cleaning Tile Grout Lines Without the Stress
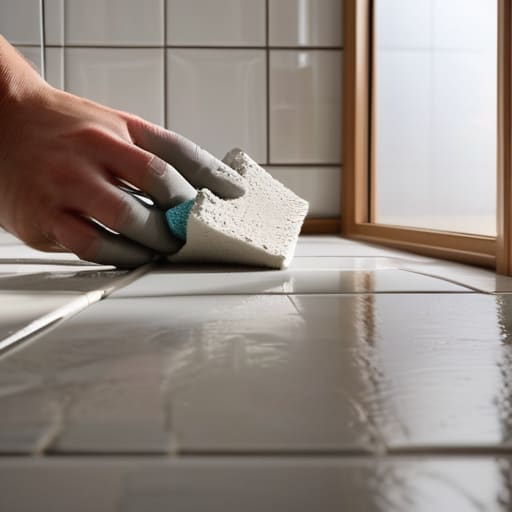
Sometimes, the standard scrub just doesn’t cut it, and you find yourself staring at those stubborn, dark patches wondering if they’ll ever look bright again. Think of it like a slow-cooked stew; if you don’t let the flavors—or in this case, the cleaning agents—really sit and work, you’re just spinning your wheels. When you’re tackling deep cleaning tile grout lines, the secret is patience. I like to apply a thick paste and let it dwell for at least fifteen minutes. This gives the solution time to break down the grime on a molecular level, so you aren’t relying solely on elbow grease.
If you’re dealing with those pesky black spots in the shower, you’re likely removing mold from tile grout rather than just surface dirt. This requires a slightly more aggressive approach to ensure you’re hitting the root of the problem. Once you’ve finally achieved that “like-new” glow, don’t forget the most important finishing touch: grout sealer application. It’s like putting a high-quality lid on a pot; it protects your hard work and prevents future messes from soaking in deep.
Pro-Tips to Keep Your Grout Looking Fresh Between Deep Cleans
- Think of grout maintenance like seasoning a cast iron skillet; a little preventative care goes a long way. Once your tiles are sparkling, apply a high-quality grout sealer. It’s like putting a raincoat on your grout lines, preventing liquids and grime from soaking into the porous surface in the first place.
- Don’t go overboard with the heavy-duty chemicals every single week. If you treat your grout like a delicate soufflé, you’ll realize that using harsh acids too often can actually eat away at the sealer and the grout itself. Stick to mild soap and water for your routine wipes.
- Invest in a decent grout brush rather than relying on an old toothbrush. While the toothbrush works in a pinch, a dedicated grout brush gives you the right amount of leverage without you having to break your back (or your wrist) scrubbing away.
- Always test any new cleaning solution on a tiny, inconspicuous corner first. I’ve learned this the hard way! You don’t want to find out halfway through the kitchen that your “miracle cleaner” actually discolors your beautiful new backsplash.
- Keep a microfiber cloth handy for a final wipe-down. Just like wiping the excess oil off a pan, removing the moisture and cleaning residue immediately after scrubbing prevents that weird, cloudy film from settling into the lines as they dry.
The Quick Cheat Sheet for Fresh Grout
Think of grout maintenance like seasoning a soup; a little bit of regular care goes a long way in preventing a massive, overwhelming mess later on.
You don’t always need the heavy-duty chemicals; often, a simple mix of natural ingredients is the perfect recipe for getting those lines bright again without the harsh fumes.
When things get really stubborn, don’t sweat it—grab a stiff brush and a bit of patience, and you’ll see that even the toughest grime is manageable with the right approach.
## A Little Perspective on the Grime
“Think of cleaning your grout like perfecting a slow-cooked stew; you can’t just rush it with high heat and hope for the best. It takes a bit of patience, the right ingredients, and a little bit of elbow grease, but once those lines are bright again, the whole room just feels more flavorful.”
Morgan Bennett
Bringing It All Home
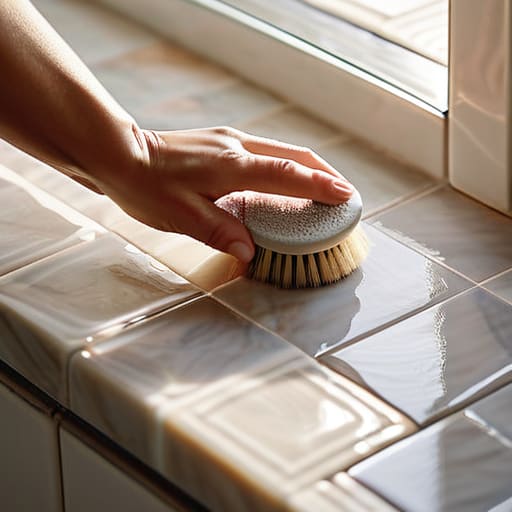
At the end of the day, keeping your grout clean doesn’t have to feel like a massive, overwhelming project on your weekend to-do list. Whether you decided to go the route of a gentle vinegar and baking soda mix for your weekly upkeep or rolled up your sleeves for a deep dive with a stiff brush and heavy-duty cleaner, the goal is the same: maintaining a space that feels fresh. Just like a good slow-cooked stew, the secret is all in the consistency of the prep work. By tackling those lines regularly and choosing the right tools for the job, you prevent that stubborn grime from ever getting a permanent foothold in your home.
I know that sometimes a dirty floor can make your whole house feel a bit chaotic, but remember that these small wins lead to much bigger shifts in how you feel in your space. Taking thirty minutes to refresh your tiles isn’t just about aesthetics; it’s about taking ownership of your environment. Don’t let a few dingy lines discourage you from enjoying your home. Once you see that bright, clean finish, I promise you’ll feel that instant boost of satisfaction. So, grab your gear, put on your favorite playlist, and let’s get those floors looking spectacular again!
Frequently Asked Questions
Is it safe to use a pressure washer on my outdoor grout, or am I going to end up with a mess?
Look, I get the temptation—you see that pressure washer and think, “This is going to save me hours!” But honestly? It’s a bit like trying to bake a delicate soufflé with a blowtorch; you might get the job done, but you’ll likely ruin the whole thing. If you aren’t careful, that intense pressure can blast the grout right out of the joints or etch your tiles. If you do go that route, keep the nozzle far back and use a wide spray pattern. Proceed with caution!
How can I tell if my grout is actually permanently stained or if it just needs a little more elbow grease?
Think of it like a stubborn sauce stain on a favorite apron. Before you declare it a lost cause, try the “spot test.” Pick a small, inconspicuous corner and give it your best shot with a heavy-duty cleaner and a stiff brush. If the color lifts even slightly, there’s hope! But if you’ve scrubbed your heart out and that discoloration hasn’t budged, you’re likely looking at a permanent pigment change or deep structural staining.
Once I finally get it looking spotless, what's the best way to seal it so I'm not doing this all over again next month?
Think of sealing your grout like adding a protective glaze to a fresh batch of cookies—it keeps the good stuff in and prevents the mess from soaking in. Once your tiles are bone-dry, grab a high-quality penetrating sealer. Just brush it on, let it soak in, and wipe away the excess. It’s a small bit of prep work now that saves you from a massive cleaning headache next month!